
Provision a simple VPS with a basic LAMP server via OVH Manager and OVH Public Cloud.
This guide walks through creating an instance, configuring it, connecting via SSH to install Apache, and testing the connection.
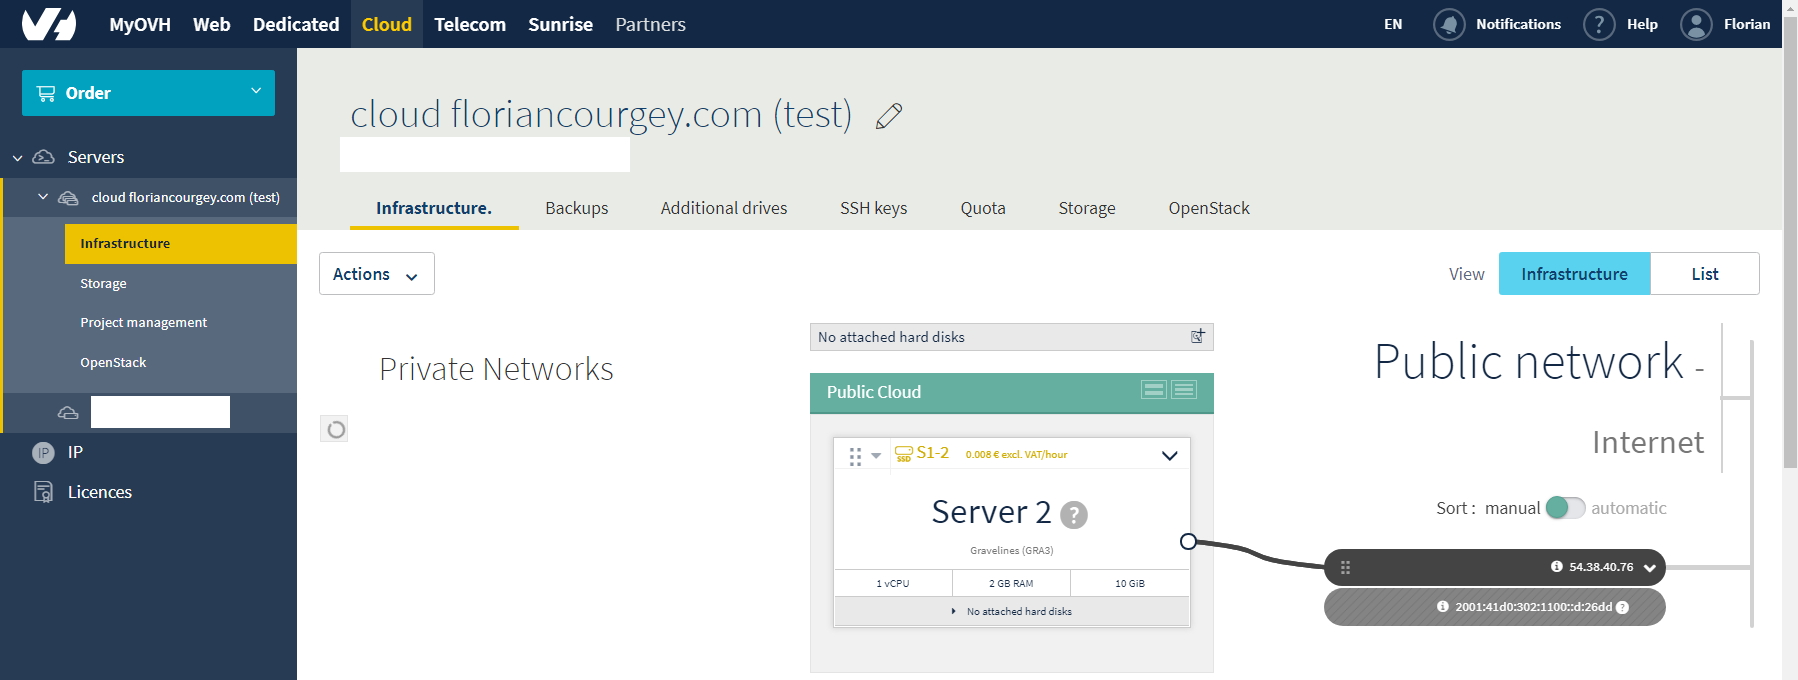
Preparation
- OVH account with Manager Access
- Basic Linux knowledge (SSH, vim, apt), see the UNIX cheatsheet
- Estimated time of completion: 10 min
Walkthrough
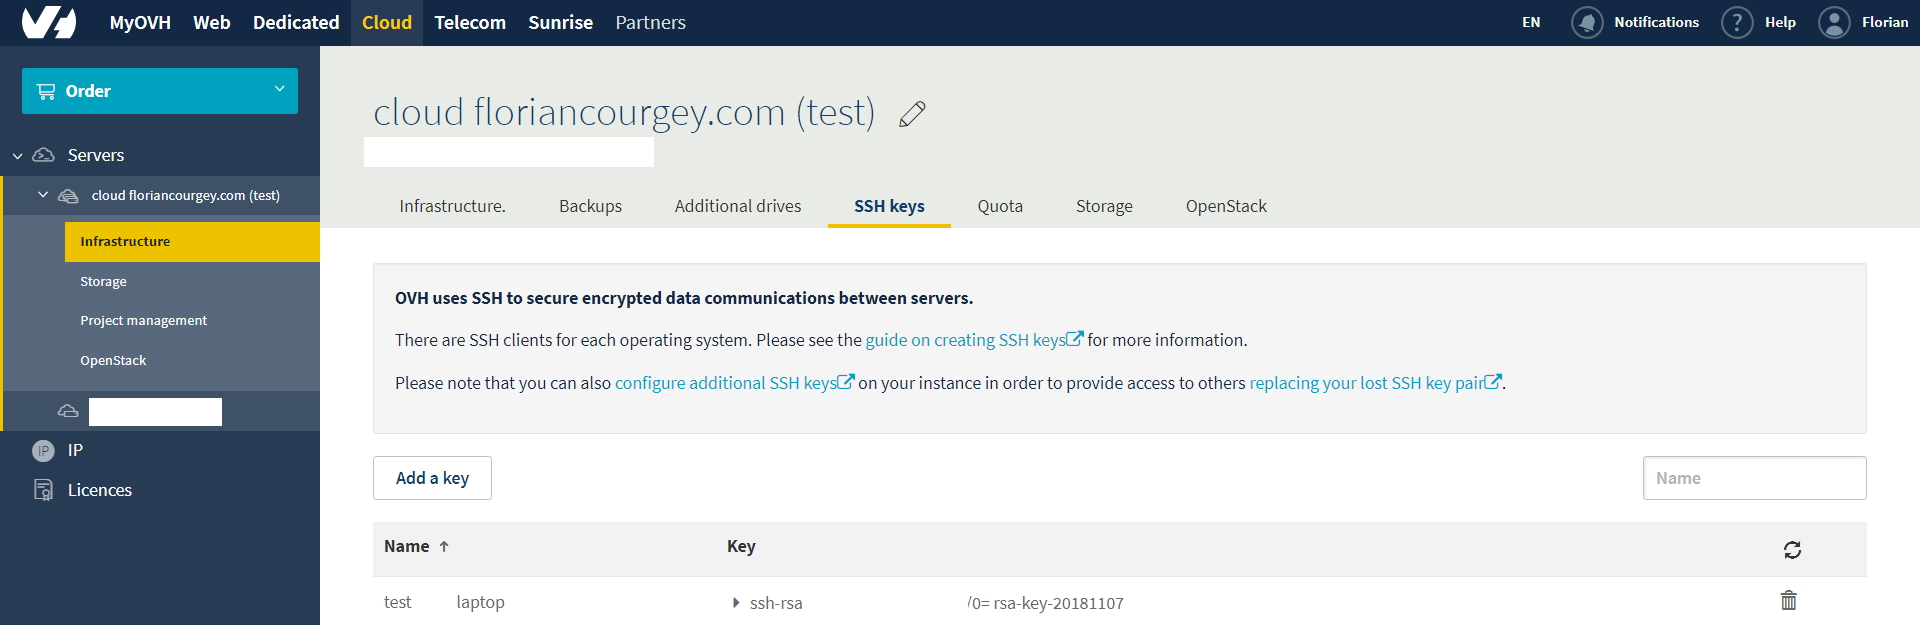
Add your SSH Key in the OVH Manager
Refer to https://docs.ovh.com/gb/en/public-cloud/create-ssh-keys/ to create one. Have your public+private key saved somewhere as TXT format, no matter the extension.
In your OVH Manager, go to ‘Cloud > Create new Project > Fill info > SSH Keys > Add > Add your public SSH Key’.
Create the VPS instance
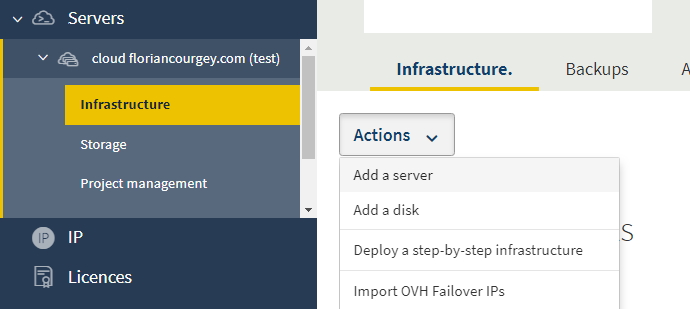
Infrastructure > Actions > Add a server:
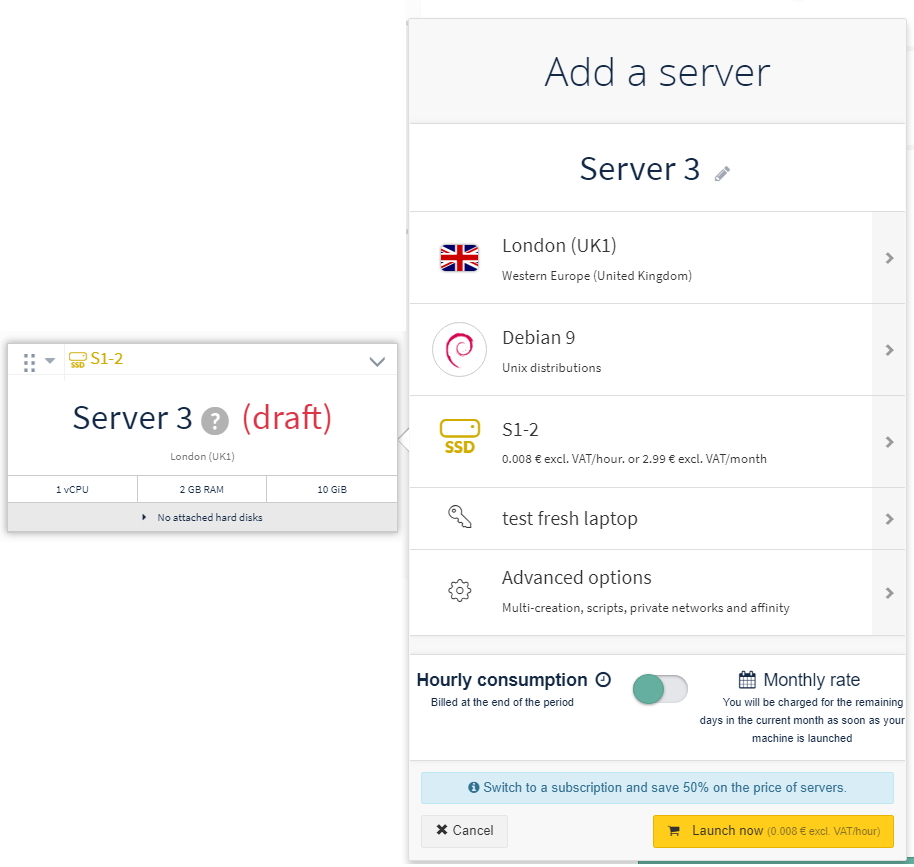
- Select your closest geographic area, i.e. London UK 1
- Select Debian 9
- Select the cheapest, S1-2, which stands for Server 1 vCore CPU + 2GB RAM + 10 Go HDD
- The SSH Key should be pre-selected
- Leave Advanced options as is
- Click Launch Now
Wait 2-5 minutes and a popup should appear with the server IP and the linux root username. In this case it was ssh [email protected]. To open this window again click on ‘Login Informations’.
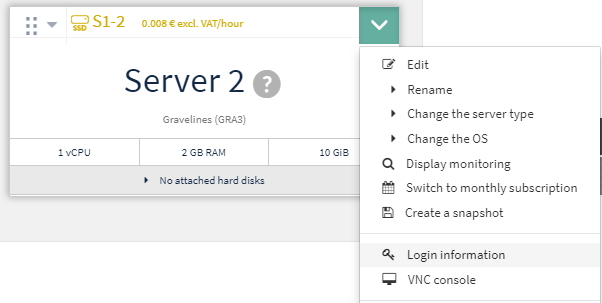
Let’s connect and run a quick enumeration:
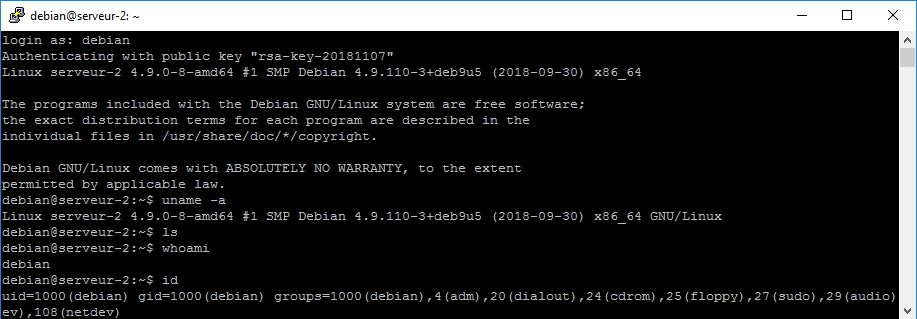
Server is up and running, great!!
Install Apache and create a HTML test page
$ sudo apt update # refresh all repo
$ sudo apt install apache2 # install apache
$ cd # make sure we are in our home folder
$ mkdir public_html && cd public_html # create public_html, per Apache convention
$ touch index.html && echo "Hello world from OVH Cloud Iaas!" > index.html # create basic html file
$ sudo chgrp www-data ~/public_html # edit permission to have www-data as group owner
$ sudo a2enmod userdir # enable apache module "userdir"
$ sudo service apache2 restart # restart apache
See https://wiki.debian.org/LaMp for details
Advanced configuration with OpenStack Dashboard: Horizon
Open the advanced dashboard through the tab OpenStack. Create a user and start Horizon:
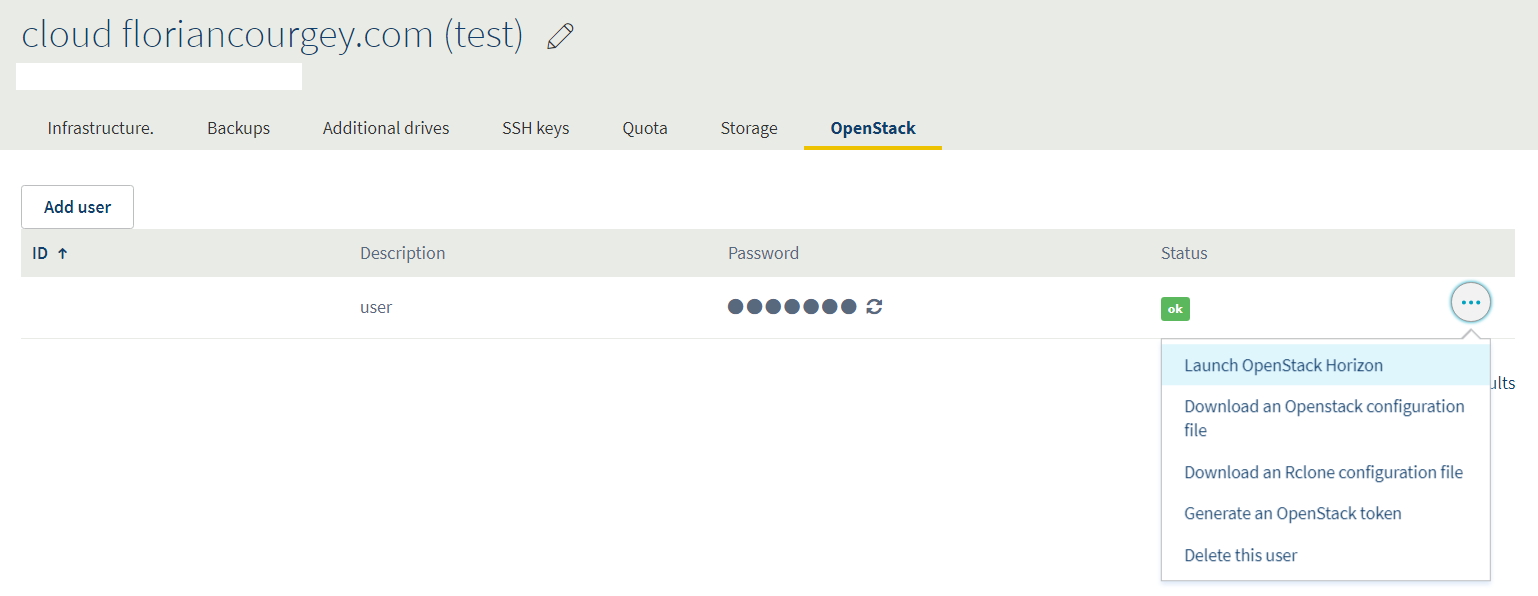
It will open in a new tab:
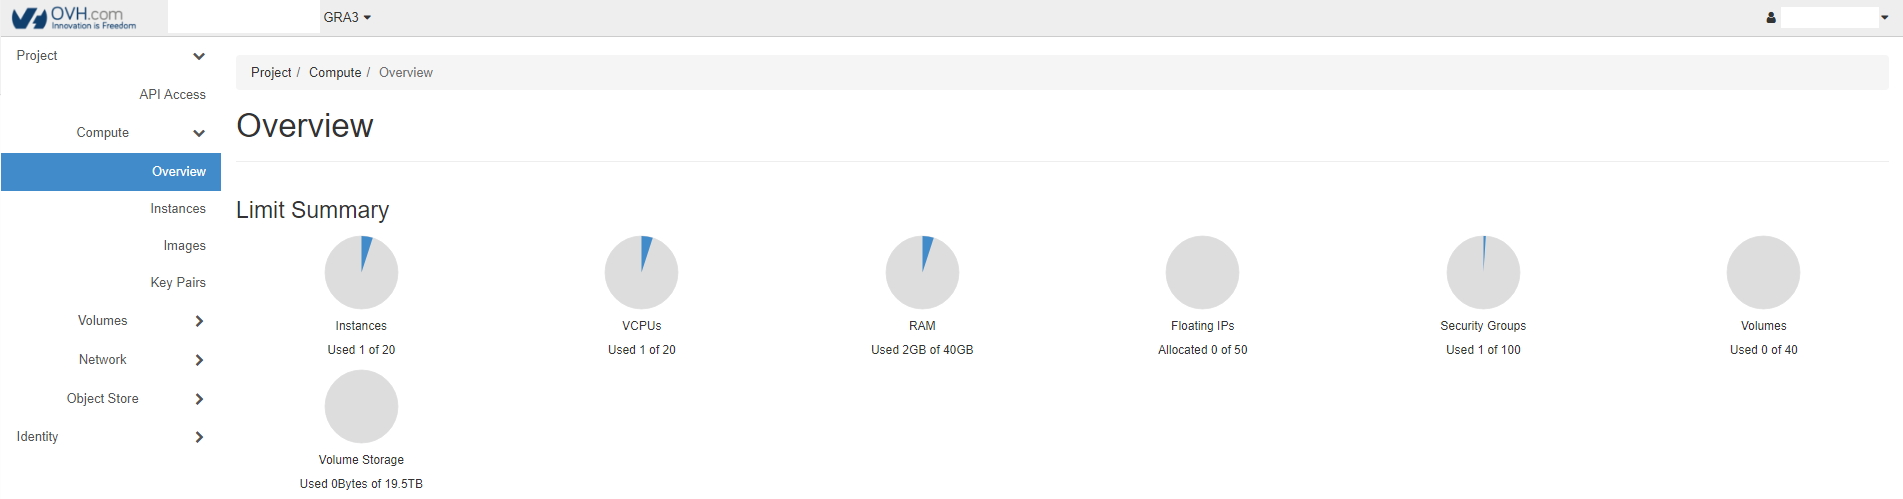
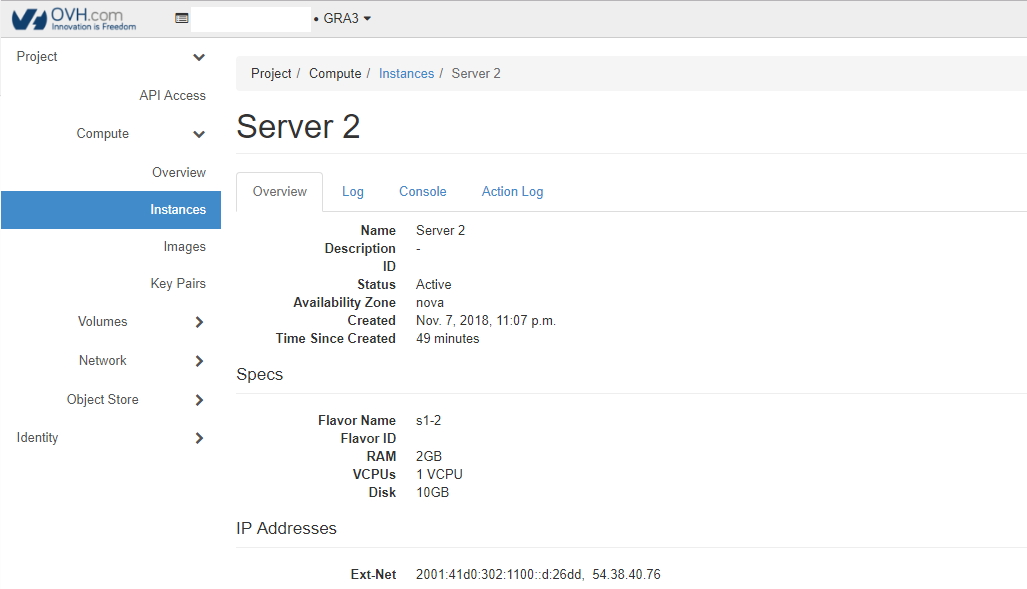
Browse to your instances, and find an overview, the server log and an open stack console:
Add alert with usage threshold
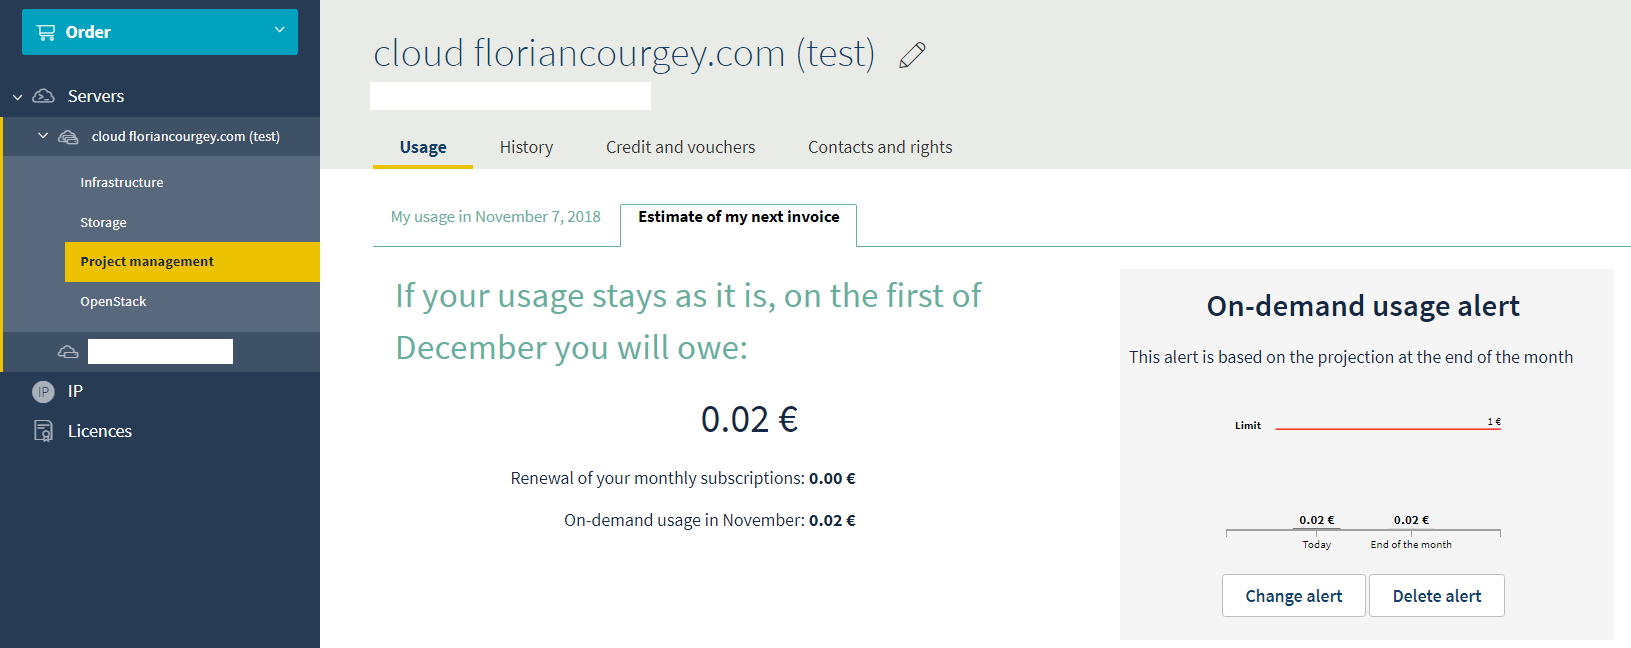
Project Management > Usage > Estimate of my next invoice > Create alert:
Validation & troubleshooting
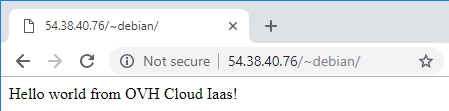
And that’s it! Open http://54.xx.xx.xx/~debian/ in a browser:
Going further
- Install full LAMP with PHP and MySQL
- Install Plesk for server management made easy (hostnames, HTTPs, one-click wordpress, cron via UI, users…)
- Install and connect 100Go Storage disk to host nextcloud data
- My linux server is full!: find what fills the disk of your new VPS